Painting murals on interior walls in Seligman, AZ turns a blank room into a Route 66-worthy focal point, and you can finish a simple one in a weekend with the right prep and paint. This guide walks through materials, wall prep, design transfer, and painting technique so your first mural looks intentional, not accidental. Skip to the FAQ below if you just need cost and timeline numbers before you commit.
This guide comes from the crew at Blue J Paint, a painting contractor working on homes and businesses throughout Seligman and the Route 66 corridor in Mohave County. We paint accent walls and interior murals for local clients regularly, and one thing we see again and again: the high desert's low humidity speeds up acrylic dry time more than most DIY guides account for, which changes how you should plan your blending steps.
Visit Blue J Paint & Stain to see our services and request a free estimate.
What Is a Wall Mural?
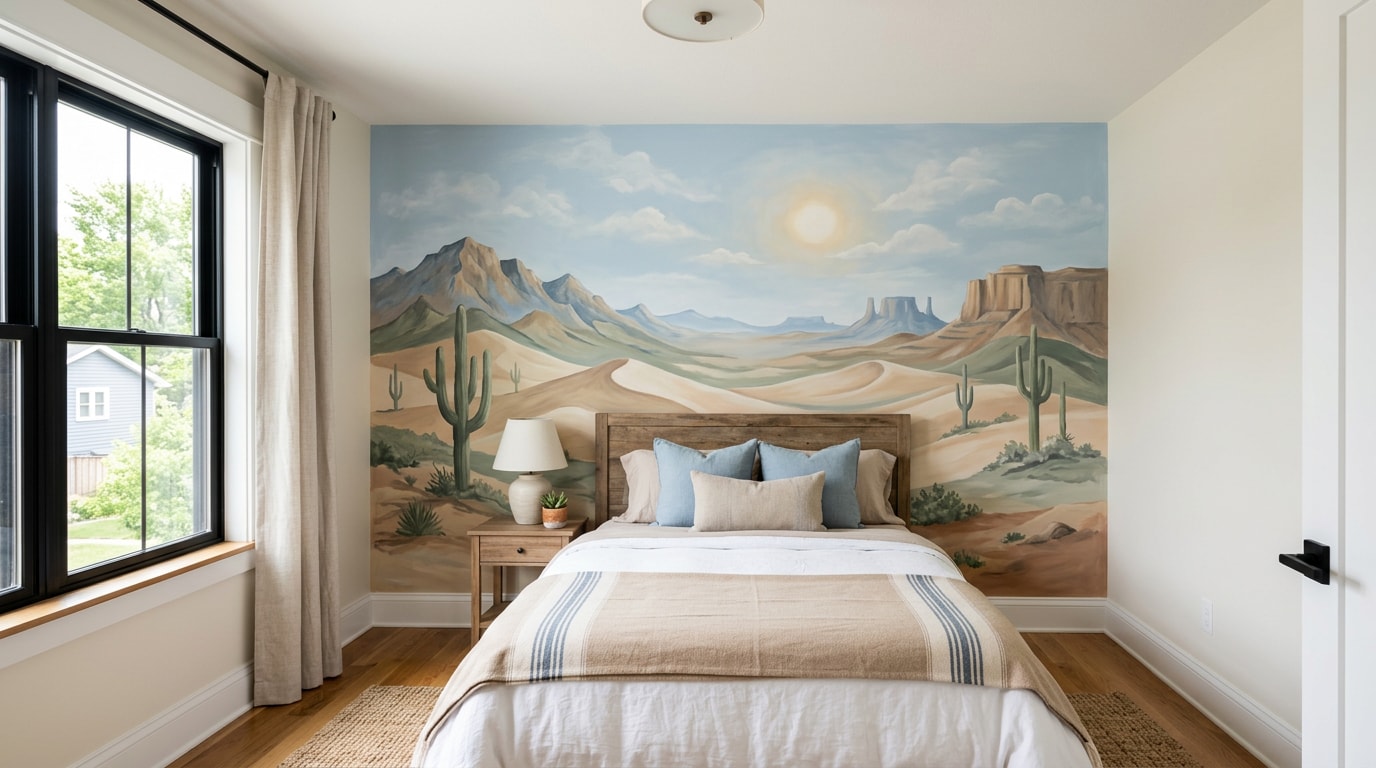
A wall mural is a large-scale image or design painted directly onto an interior wall, turning the wall itself into the artwork instead of hanging a separate piece on it. This guide focuses on hand-painted murals, not pre-made vinyl decals or pasted wallpaper murals, which use a completely different installation process.
Seligman's exterior walls already show off this idea at a larger scale. Near the "World's Largest Route 66 Sign," you'll see murals of two of the most popular cars from the movie Cars: Lightning McQueen and Mater. Those are exterior, weather-rated paint jobs on commercial buildings. Interior residential murals use different paints, different prep, and a much smaller scale, which is exactly what this guide covers.
Hand-painting gives you more control over color, scale, and detail, but it also takes longer. A simple accent wall might take a weekend; a detailed, multi-color scene can stretch across several evenings. If you'd rather see finished interior work before committing to a DIY project, browse our project gallery for inspiration.
Materials and Tools You'll Need
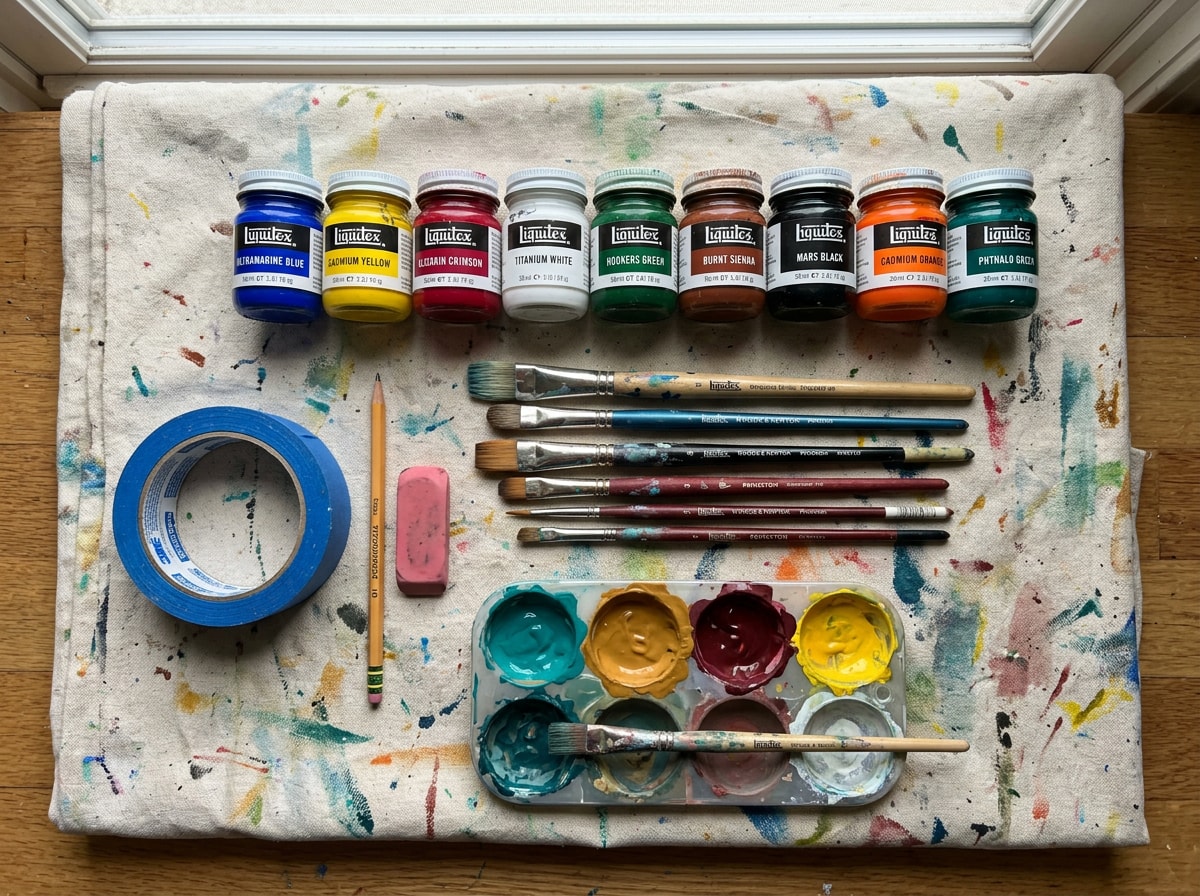
Most interior mural projects use the same core kit. Lay everything out before you start so you're not hunting for a smaller brush mid-design.
- Painter's tape and drop cloths
- A level or straightedge
- Pencils, chalk, or a watercolor pencil (regular pencil can show through lighter paint)
- Brushes: one flat, one round, and one fine liner
- A putty knife and spackle for patching
- Sandpaper (fine grit)
- Paint trays, one per color
- Your chosen paints and a primer
Best Paint Types for an Interior Mural
The best paint for an interior mural depends on the room's traffic level, humidity, and how crisp you want the finish to look.
Acrylic paint is the most common choice for hand-painted murals. It dries fast, layers well, and cleans up with water. Latex works well for large background areas but is harder to blend finely. Spray paint is generally discouraged indoors. It's harder to control on a vertical interior wall, and confined, poorly ventilated rooms raise exposure concerns that OSHA's ventilation standards address directly, noting that crossdrafts and excessive air pressure can carry overspray and fumes into adjacent work areas when ventilation isn't managed properly.
| Paint Type | Dry Time | Finish | Cost per Gallon | Best For |
|---|---|---|---|---|
| Acrylic | 15–30 min | Matte to satin | $25–$45 | Detail work, blending |
| Latex | 1–2 hrs | Flat to eggshell | $20–$35 | Large background areas |
| Enamel | 6–8 hrs | Glossy, durable | $30–$50 | High-traffic hallways |
| Chalkboard | 30 min | Matte, writable | $15–$25 | Playrooms, kids' spaces |
Prices vary by brand and retailer, so treat these as a planning range rather than a quote.
When choosing between acrylic and latex mural paint, also think about indoor air quality. Look for low-VOC paint, especially in bedrooms and nurseries where ventilation may be limited. The main concern indoors is the potential for VOCs to adversely impact the health of people that are exposed , which is why the EPA's technical overview of volatile organic compounds is worth a quick read before you buy a full gallon.
How to Prepare Your Wall and Surroundings
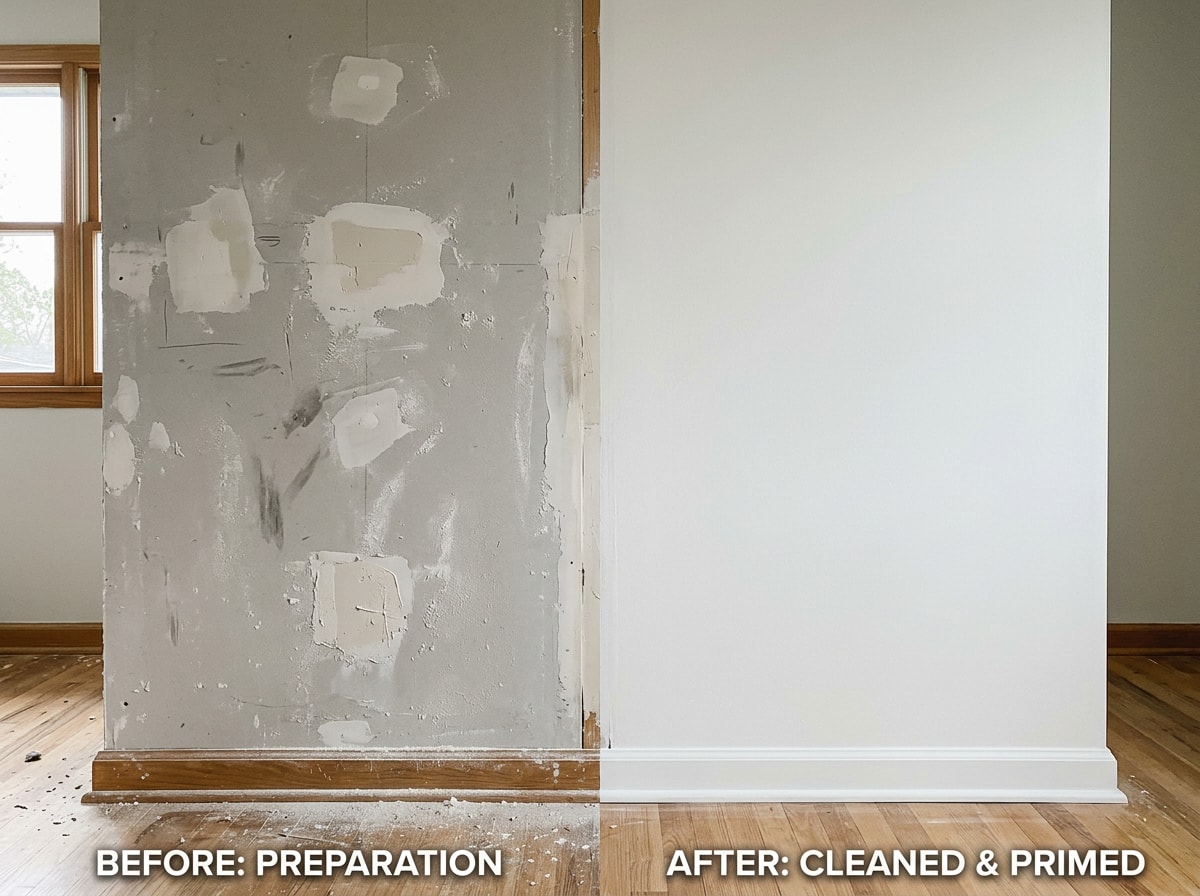
Good prep happens in order: protect the room, clean the wall, then prime or base-coat it. Skip a step here and it tends to show up later as paint bleeding under tape lines or color that doesn't adhere evenly.
Protect the Room First
Cover the floor and nearby furniture with drop cloths. Run painter's tape along baseboards, trim, and outlets.
This matters more than it seems. A single dripped paint line on carpet is far harder to fix than the mural itself. Clear out furniture if you can, or push it to the center of the room and cover it completely.
Clean and Patch the Wall
Wash the wall with mild soap and water to remove dust, grease, and smudges. Let it dry fully. Patch any holes or cracks with spackle, let the patches dry, then sand them smooth before you prime.
A second primer coat is worth the extra time in two cases:
- You're painting over new, unsealed drywall.
- Your mural's lighter colors will sit over a much darker existing wall color.
In both situations, skipping the second coat usually means your mural colors look muddy or uneven once dry.
One caveat worth flagging for older Seligman properties: homes built before 1978 may contain lead-based paint, so sanding an older wall without testing first isn't a good idea. If you are repairing or renovating a home built before 1978, take steps to do so safely, since repairs and renovations in these homes can create dangerous lead dust, especially from sanding or scraping paint. The CDC's lead-safety guidance covers testing and safe work practices before you pick up sandpaper.
Plan, Draw, and Transfer Your Mural Design
Start by picking a theme and color palette that fits the room. Soft tones work for a bedroom; bolder colors suit a playroom or hallway. Once you've settled on an image, you need a way to get it onto the wall accurately.
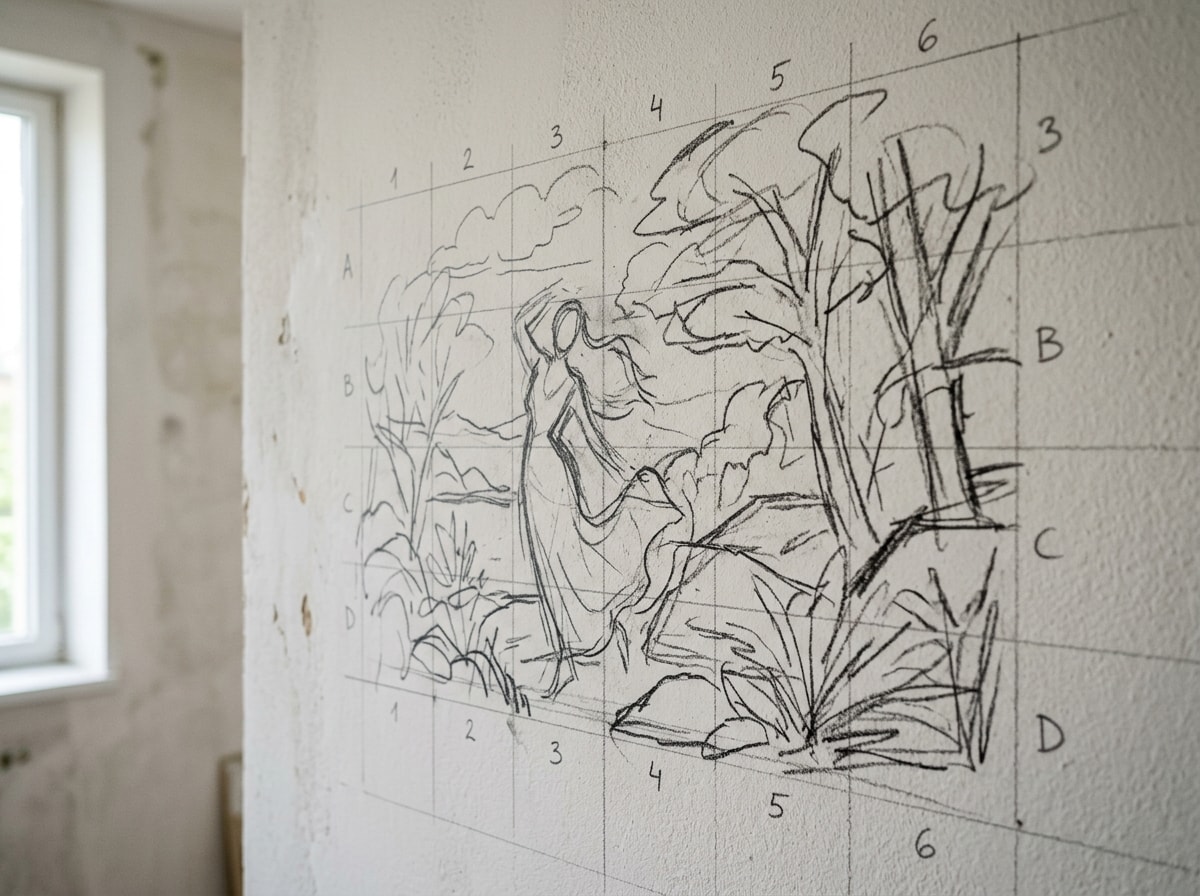
The grid method is the most reliable option for beginners:
- Draw a grid of equal squares over your printed reference image.
- Lightly draw a matching, larger grid on the wall in pencil.
- Copy what's in each small square into its corresponding large square on the wall, one section at a time.
This keeps proportions accurate even if you're not confident freehanding a large image.
A projector is a faster alternative. Dim the room, project your design onto the wall at night, and trace the outline in pencil. The grid method takes longer but needs no extra equipment; a projector is quicker if you already own one.
How to Paint Your Mural: Step-by-Step Technique
Once your outline is on the wall, work from large to small:
- Paint the biggest background color blocks first and let them dry.
- Move to mid-size shapes.
- Save fine details, outlines, highlights, and small objects for last.
For smooth color transitions, blend while the paint is still workable by feathering a slightly damp brush along the edge where two colors meet. In Seligman's dry climate, acrylic can skin over faster than the can label suggests, so work in smaller sections and keep a damp rag nearby to rewet edges before they set.
Build color in thin layers rather than one thick coat. This gives you more control and fewer visible brush strokes. Step back from the wall every so often to check the piece from a distance, since mural proportions can look different up close than across the room.
Painting a Mural in a Bedroom
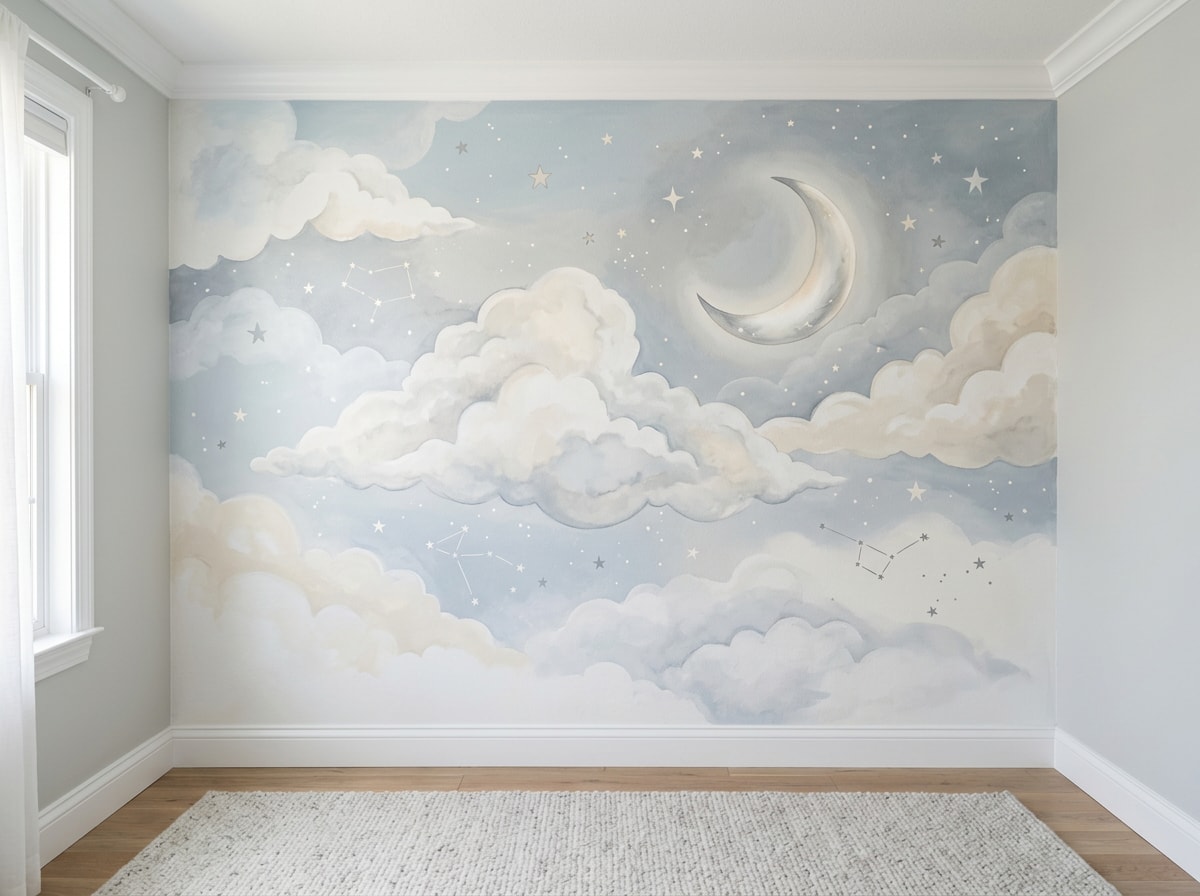
Bedroom murals work best with calm, soothing themes: soft landscapes, abstract shapes, or muted florals rather than high-contrast, busy designs. Picture a nursery project with a simple cloud-and-moon scene in pale blues and grays, painted on the wall behind where the crib will sit.
Before painting, measure where furniture will land so large design elements aren't hidden behind a dresser or headboard. Work section by section, keeping the headboard wall as your focal point. A design like this, painted over two or three evenings, is realistic for most first-time muralists.
A mural is also a form of interior improvement, and buyers in small Route 66 towns do notice updated, well-finished rooms; our local breakdown on whether painting increases home value in Seligman covers how far that effect actually goes.
If you'd rather hand the project to a professional, our interior painting team can handle design and execution together, or take a look at our accent wall painting service if you want a bold statement wall without the DIY learning curve. Get a free estimate and we'll scope the design, prep, and paint schedule for you.
FAQ
How Much Does It Cost to Paint a Mural on an Interior Wall?
DIY mural costs mostly come down to paint and supplies, typically $50 to $150 for a standard accent wall, depending on paint quality and wall size. Hiring a professional muralist generally runs $15 to $50 per square foot depending on design complexity, so a hired mural on an average wall can land anywhere from $500 to a few thousand dollars. Contact us for a quote based on your specific wall and design.
How Long Does It Take to Paint a Wall Mural?
A simple DIY mural on an average-size wall usually takes one to three days, including prep and drying time between layers. More detailed, multi-color designs can take a week or more of evening sessions to finish properly.
Do You Need to Be an Artist to Paint a Mural?
No. Plenty of beginner-friendly mural styles don't require freehand drawing skill. Geometric patterns, stencils, and projector-traced designs all produce clean results without an art background.
Do You Need to Seal a Painted Wall Mural?
Interior murals generally don't need sealing the way exterior murals do, since they aren't exposed to weather. A clear acrylic topcoat does help in high-traffic hallways or kids' rooms where walls get touched or bumped often. Check a manufacturer's technical product guidance for a compatible topcoat before applying one over a mural.
Can You Paint a Mural Over Wallpaper or Textured Walls?
Painting directly over wallpaper is risky. Seams can show through and paint can lift the paper over time. Remove wallpaper first. Textured walls (orange peel, knockdown) can work for simple, forgiving designs, but fine detail and crisp lines are much easier on a smooth, skim-coated surface.
Do I Need Permission to Paint a Mural in a Rented Home?
Yes. Get written permission from your landlord before painting a mural, and confirm whether you're expected to repaint the wall a neutral color before move-out. Some landlords allow murals in a nursery or playroom but require restoration at lease end, so get the terms in writing.